Module 2: Submitting the TASFA (Texas Application for State Financial Aid)
How to Submit
According to the THECB, TASFA submission methods vary by institution. Some colleges use online portals, others accept fillable forms, and some still require paper submission. Always check your college’s financial-aid website for specific instructions. Then follow these steps to complete your TASFA form:

Step 1: Confirm Your TASFA Eligibility
You may file the TASFA if:
You are a Texas resident for tuition purposes
You are not eligible to complete the FAFSA
You meet residency requirements under the Texas Dream Act
You can sign the residency affidavit
Your college classifies you as a Texas resident
Reminder: THECB confirms that TASFA is only for students who cannot complete the FAFSA.

Step 2: Find Out HOW Your College Accepts the TASFA
This comes straight from THECB:
“The process for receiving a paper copy of the TASFA varies by institution. Some require it to be mailed. Others may prefer you upload or email a copy through a secure platform.” (Source: THECB TASFA page)
This means each college chooses ONE of the following:
Option A: Online TASFA Portal
Many universities now have a secure portal to complete and upload TASFA documents.
Option B: Downloadable TASFA PDF
You fill out a PDF form and upload/email it to your school.
Option C: Paper Submission
Some colleges still require paper delivery—either mailed or submitted in person.

Step 3: Gather ALL Required Documents
Have these ready before you begin; required by most colleges:
Texas Residency Affidavit (from your college)
Student/parent tax returns or W-2s (two years prior)
Proof of Texas residency (lease, bills, pay stubs, TX ID)
High school transcript/GED certificate
List of colleges you’re applying to
NEW (2025–2026): Proof of Lawful Presence
To view all eligible lawful presence categories, return to the previous section in this module and select “Lawfully Present Categories.”

Step 4: Complete the TASFA
If filing ONLINE
Create or log into the college’s financial aid portal or
Create or log into the THECB website -> Start the Online TASFA
Complete each section carefully
Upload all required documents
Save a PDF copy of everything
Take screenshots of submission confirmation
If filing by PDF or PAPER
Download the TASFA from THECB website
Type answers clearly
Attach all documents
Make two full copies (always keep a copy for your records, you WILL need it)
Sign and date all pages

Step 5: Submit In Person (Strongly Recommended)
If possible:
Step 5A — Visit Admissions
Ask to confirm your residency classification
Make sure your file reflects “Texas Resident” for tuition
Ask if any additional documents are needed
Step 5B — Visit Financial Aid
Submit your TASFA + documents
Ask for confirmation
Ask when processing will begin
Ask if your file is complete
What to say:
“I’m here to submit my TASFA and supporting documents. Could you please confirm that my file is complete and that my residency classification is correct?”
This is a powerful yet respectful way to advocate for yourself.

Step 6: Keep Copies of EVERYTHING
Create a folder called:
TASFA – Your Name – 2026–2027 (or filing year)
Include:
PDFs of your TASFA
Submitted documents
Screenshots
Emails
Receipts
Notes from conversations
Names of staff you spoke with
Dates you submitted things

Step 7: Follow Up
One week or two after submitting:
Check your college portal
Check your email
Call or visit financial aid
Ask if your file is complete
You can say:
“Hi, I submitted my TASFA on ____. Can you confirm my documents have been received and that there is nothing missing?”

Step 8: Respond Quickly to Requests
Financial aid offices may request:
More residency documents
Proof of high school graduation
Additional tax forms
Clarification about your status
Respond as soon as possible to avoid delays.

Step 9: Watch for Your Award Notification (Email + Portal)
Most colleges will send you an email notification stating something like:
“You have an update to your financial aid offer. Please log in to your student portal.”
IMPORTANT:
This email often goes to your school email address, not your personal one.
What to do:
Check your email often
Check your student email at least 2–3 times a week
Check your spam/junk folder
Add the financial-aid office email to your contacts so you don’t miss updates
Log in to your student portal
Go to your Financial Aid or “My Awards” section
Look for a message titled “Award Offer”, “Financial Aid Package”, or “Aid Notification”
Read the award carefully
It will show how much aid you are receiving for the academic year (example: $3,000 for 2025–2026).You MUST click “ACCEPT”
This step is extremely important.
If you do not click “Accept”, the money will NOT be applied to your tuition bill—even if you were awarded it.
Most portals have options like:
Accept Full Amount
Accept Partial Amount
Decline
For grants (free money), always choose “Accept” unless instructed otherwise.
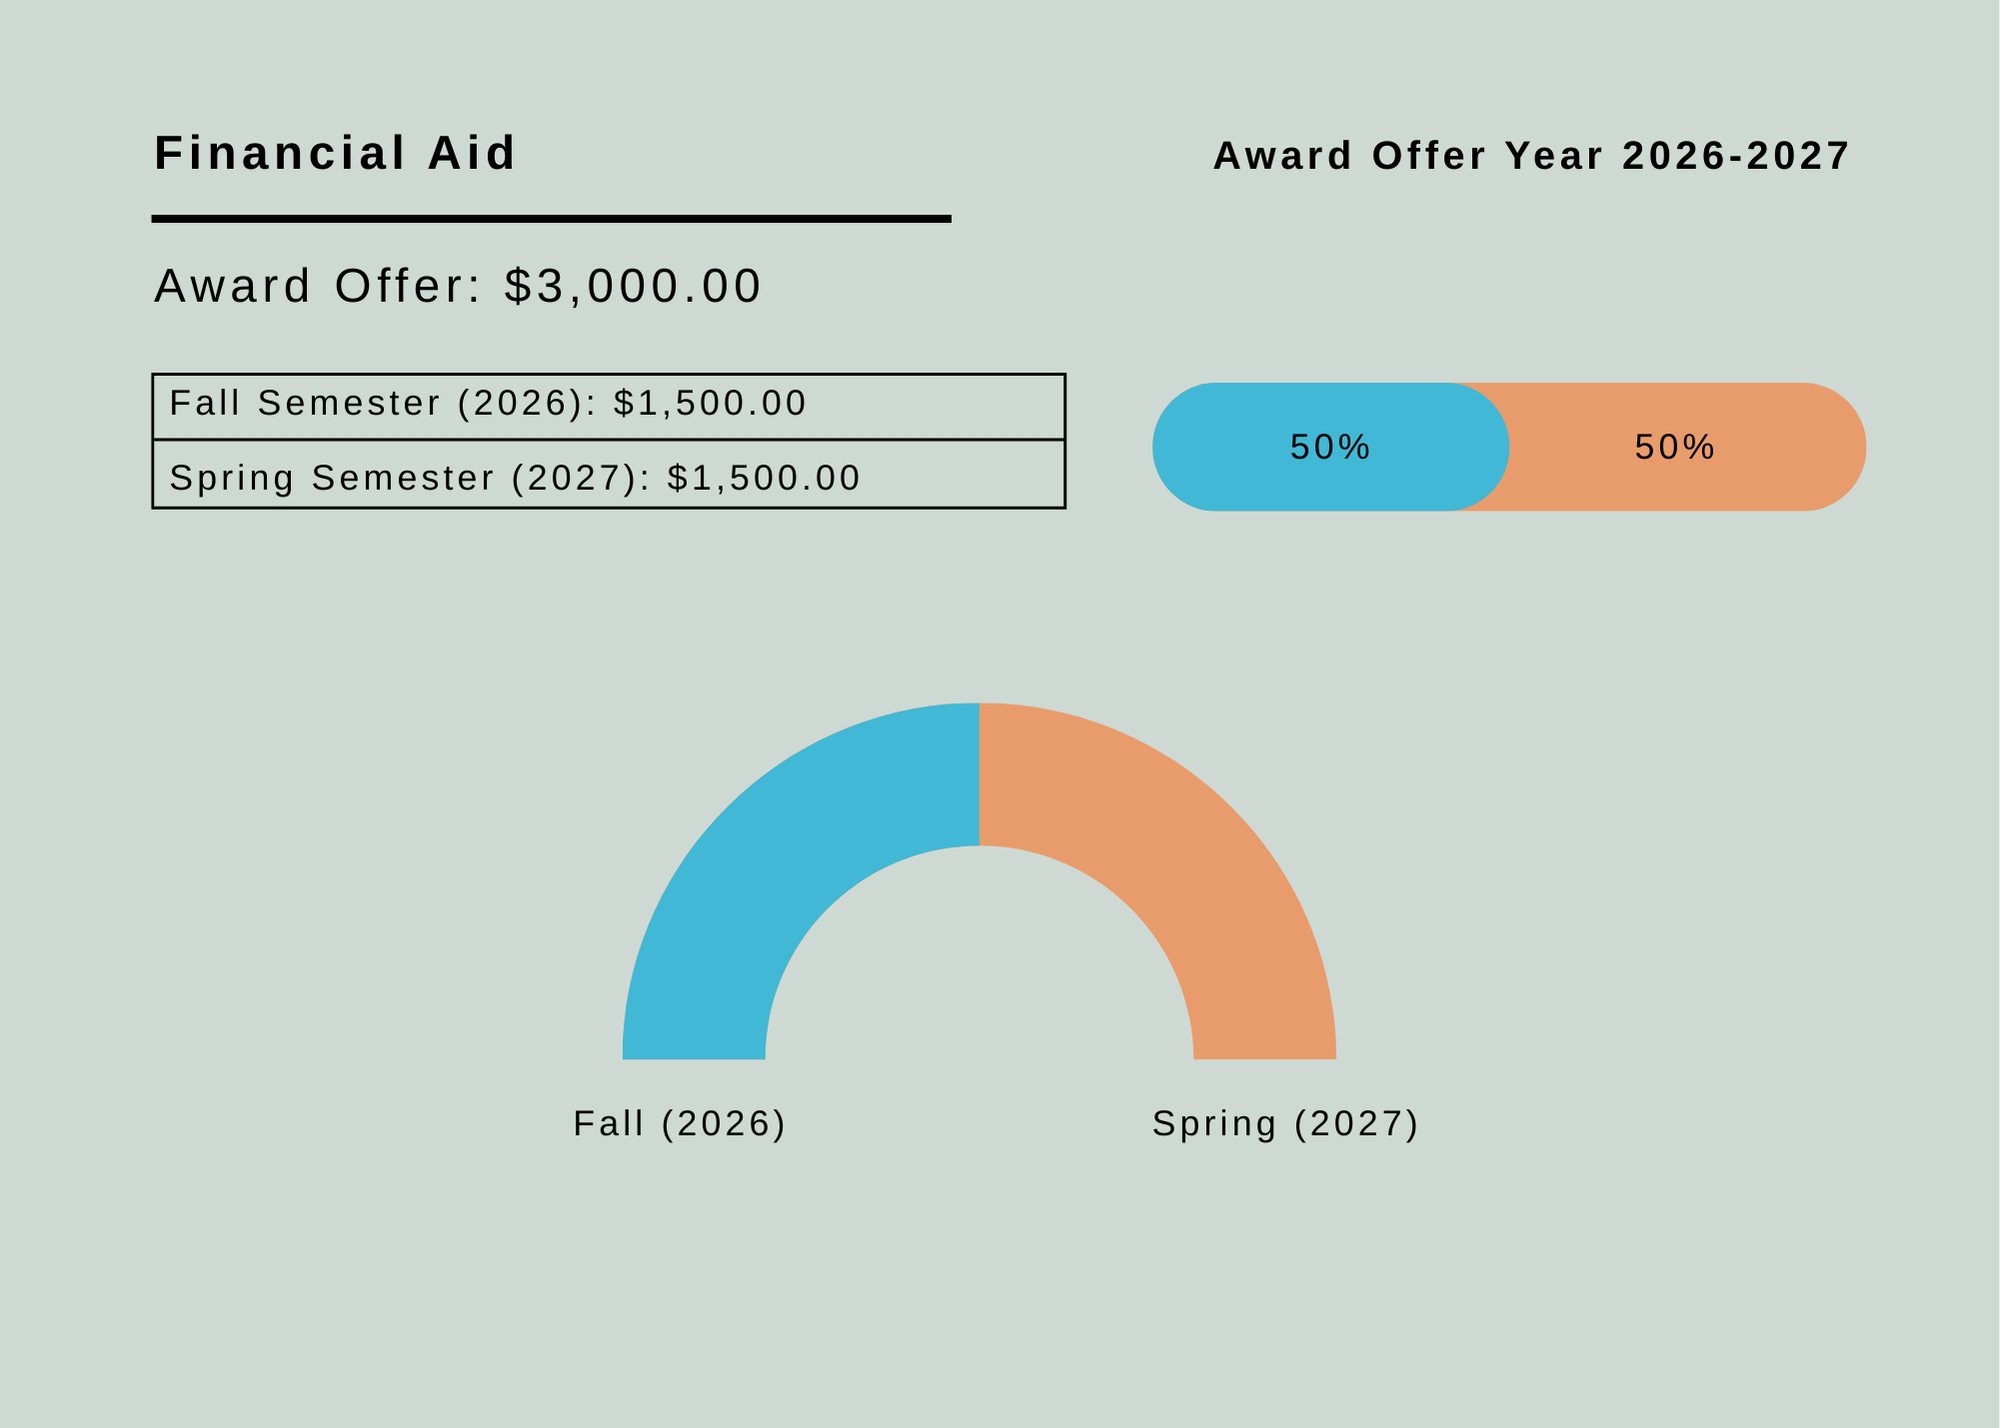
How the Money Is Disbursed (VERY IMPORTANT)
Grants and aid are not given all at once.
If you are awarded $3,000 for the year, it will be split into:
Fall semester: $1,500
Spring semester: $1,500
This is federal and state policy.
Students need to know:
You will NOT receive the full amount at the beginning
Aid is released after the semester begins
Aid is applied to your bill first
Any leftover amount may be refunded to you (depending on your school)
Student Tips
Set up email notifications on your phone
Check your portal weekly
After accepting your award, confirm the status says “Accepted/Processed”
Make sure you are enrolled in enough credit hours to receive the full award (some grants require full-time enrollment)
If part-time, aid may be reduced
-
Add a short summary or a list of helpful resources here.